
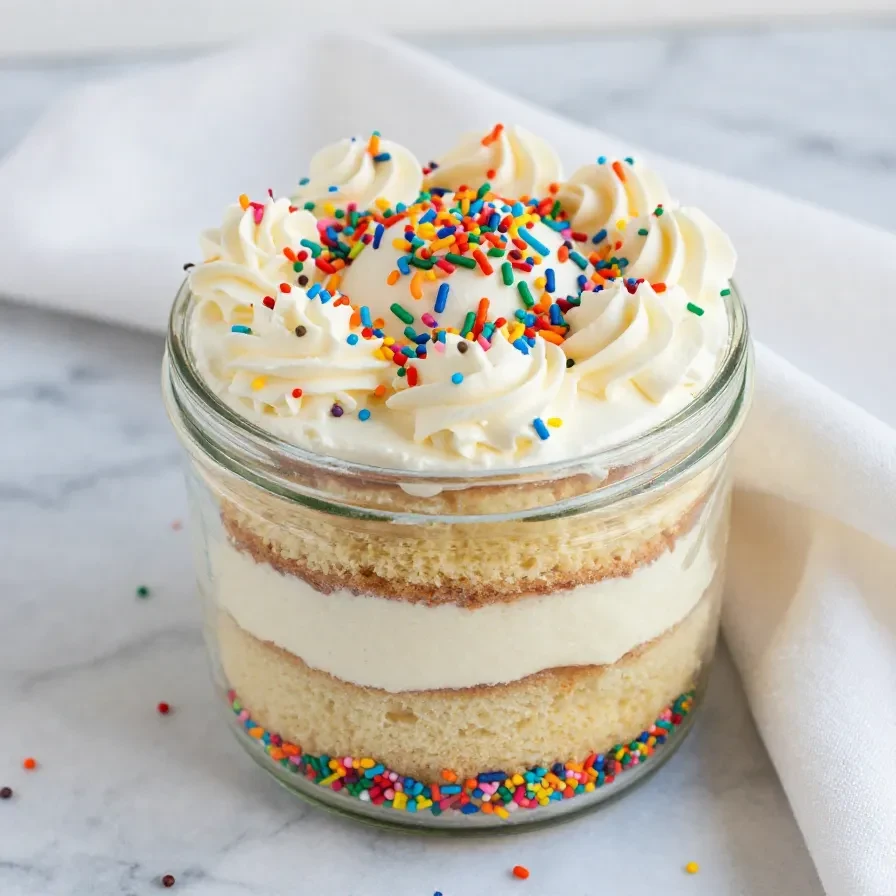
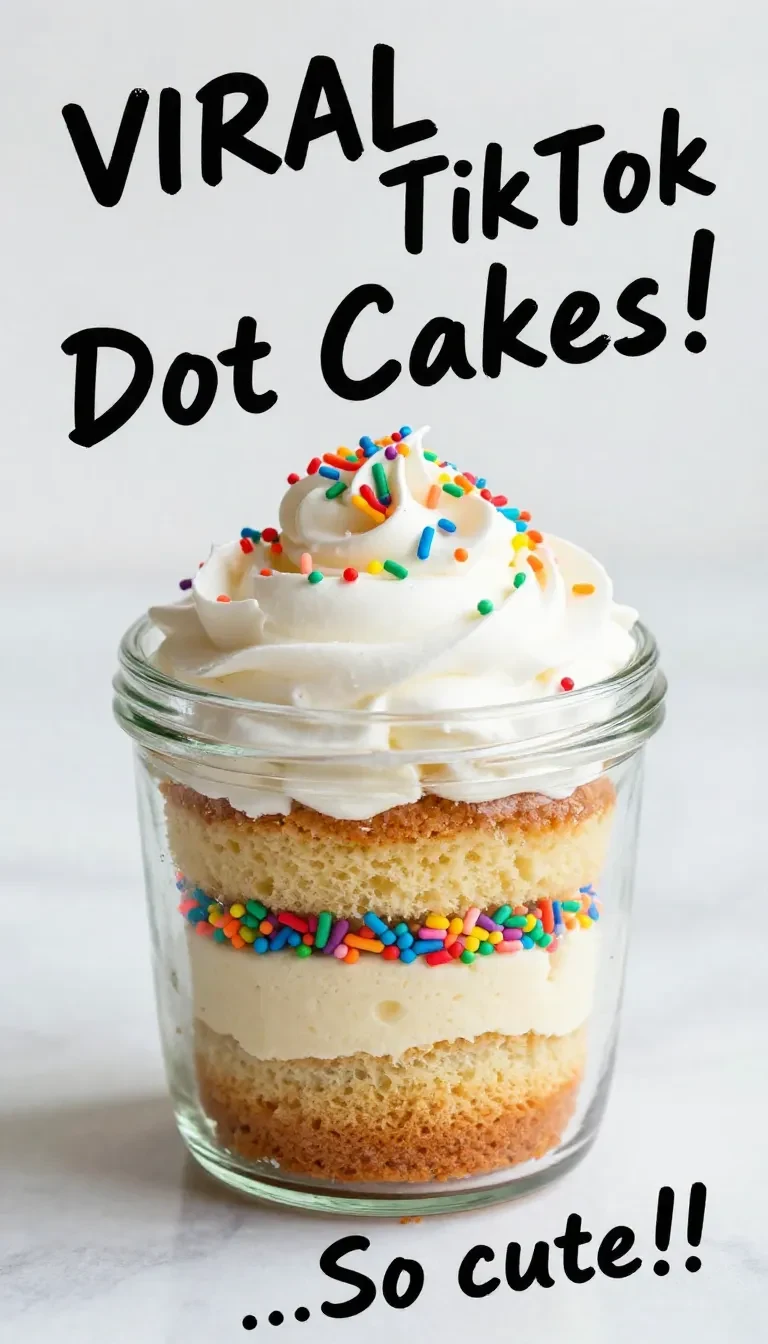
Dot Cakes
This post contains affiliate links. As an Amazon Associate, I earn from qualifying purchases. This comes at no extra cost to you.
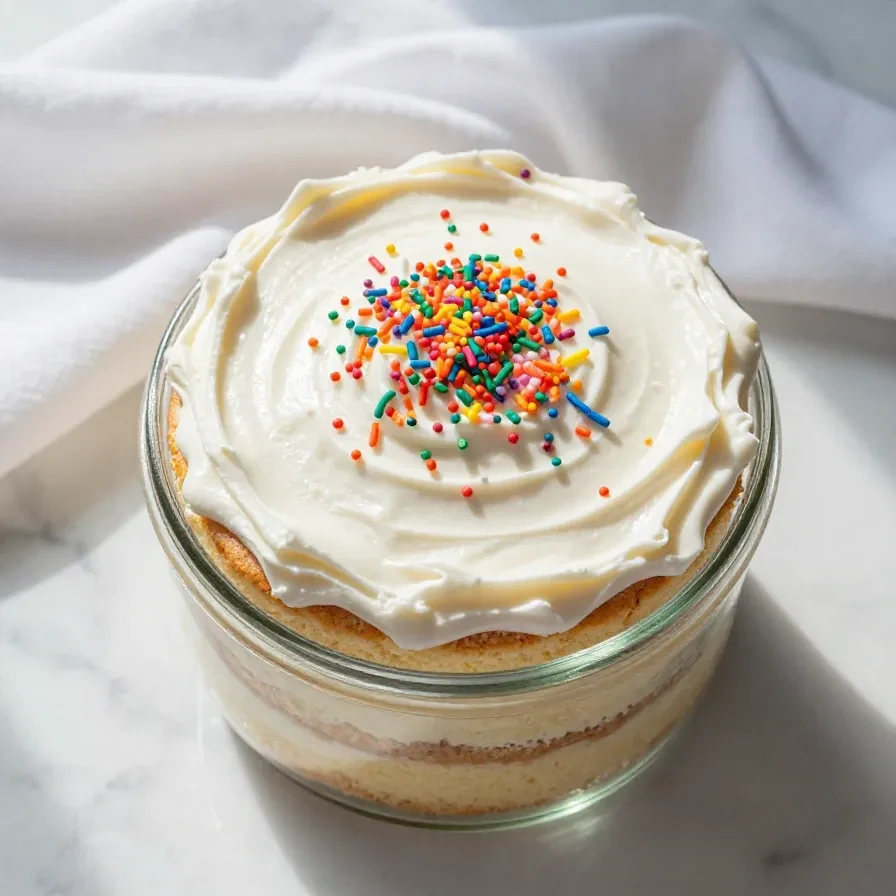
Dot Cakes are vibrant, bite-sized treats with a soft, delicate texture and a playful burst of color in every bite. These customizable cakes use food coloring to create a rainbow of hues, making them visually stunning and perfect for celebrations. Their quick preparation and light sweetness guarantee they’ll be the highlight of any dessert table.
Table of Contents
- Why Dot Cakes Are Perfect for Your Celebrations
- Everything You Need for Dot Cakes
- How To Make Dot Cakes Step by Step
- Easy Ingredient Swaps
- Expert Tips for Perfect Dot Cakes
- Storing and Reheating Dot Cakes
- Common Mistakes to Avoid
Why Dot Cakes Are Perfect for Your Celebrations
- Customizable colors: Dot Cakes allow you to mix and match food coloring to fit any party theme or holiday. You can make them as bold or subtle as you’d like.
- Quick bake time: With just 8-10 minutes in the oven, Dot Cakes are a time-saving dessert when you need a last-minute treat. Their simplicity doesn’t compromise their visual appeal.
- Kid-friendly: They’re small, easy to eat, and fun to decorate, making them a great baking project for kids. Parents will love the opportunity to teach creativity through food.
- No special equipment: Dot Cakes require nothing more than basic baking tools. You’ll appreciate how accessible this recipe is for bakers of all skill levels.
Everything You Need for Dot Cakes
- 1 cup all-purpose flour
- 1/2 cup granulated sugar
- 1/4 teaspoon salt
- 1/2 teaspoon baking powder
- 1/4 cup unsalted butter, softened
- 1/2 cup milk
- 1 large egg
- 1/2 teaspoon vanilla extract
- Assorted food coloring
- Powdered sugar for dusting (optional)
All-purpose flour forms the base of these cakes, ensuring a light, tender structure. Assorted food coloring is key to creating the vibrant look that makes Dot Cakes stand out at festive occasions.
How To Make Dot Cakes Step by Step
- Preheat your oven to 350°F (175°C) and line a baking sheet with parchment paper to prevent sticking.
- In a medium bowl, whisk together the flour, sugar, salt, and baking powder to evenly distribute the dry ingredients.
- In a separate bowl, beat the softened butter until creamy. Add the milk, egg, and vanilla extract, and mix until smooth.
- Gradually add the dry ingredients to the wet ingredients, stirring until a smooth batter forms.
- Divide the batter into small portions, depending on the number of colors desired. Add a drop or two of food coloring to each portion and mix until evenly blended.
- Spoon small dollops of each colored batter onto the prepared baking sheet, spacing them apart to prevent merging during baking.
- Bake for 8-10 minutes, or until the edges are lightly golden and the centers are set.
- Let the Dot Cakes cool on the baking sheet for 5 minutes before transferring them to a wire rack to cool completely.
- If desired, dust the Dot Cakes lightly with powdered sugar before serving.

Makes mixing batter smooth and effortless, ideal for recipes like Dot Cakes.
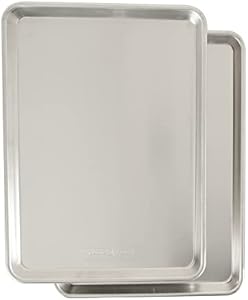
Durable, nonstick baking sheet perfect for evenly baking Dot Cakes.
Easy Ingredient Swaps
- Butter: Swap unsalted butter for margarine or plant-based alternatives if you need a dairy-free option. This may slightly affect the flavor but works well in the recipe.
- Milk: Almond milk or oat milk can replace regular milk for a lighter or vegan-friendly version. Keep the same quantities to maintain the batter’s consistency.
- Food coloring: Natural food dyes, like beet powder or turmeric, can replace artificial colors. The shades may be softer but still visually appealing.
Expert Tips for Perfect Dot Cakes
- Use gel food coloring: Gel-based colors provide more vibrant hues compared to liquid alternatives and won’t alter the batter’s consistency.
- Keep dollops small: Spoon smaller portions of batter to achieve evenly sized Dot Cakes that bake uniformly.
- Test for doneness: Check cakes after 8 minutes; gently press the center, and if it springs back, they’re ready to cool.
- Cool completely before dusting: Ensure cakes are fully cooled before adding powdered sugar to prevent it from melting into the surface.
Storing and Reheating Dot Cakes
Store cooled Dot Cakes in an airtight container at room temperature for up to 3 days. For longer storage, freeze them in a single layer on a tray, then transfer to a freezer-safe bag for up to 2 months.
Reheat Dot Cakes straight from the freezer by letting them thaw at room temperature. If warmed cakes are preferred, microwave them for 5-10 seconds in small batches to restore their soft texture.
Common Mistakes to Avoid
- Overmixing the batter: Stir just until smooth to prevent dense cakes. Overmixing can lead to a tough texture.
- Crowding the baking sheet: Leave enough space between dollops to ensure individual cakes don’t merge during baking.
- Skipping parchment paper: Always line your baking sheet to avoid sticking and ensure smooth removal of cakes.
Dot Cakes
Ingredients
Method
- Preheat your oven to 350°F (175°C) and line a baking sheet with parchment paper.
- In a medium bowl, whisk together the flour, sugar, salt, and baking powder.
- In a separate bowl, beat the softened butter until creamy. Add the milk, egg, and vanilla extract, and mix until smooth.
- Gradually add the dry ingredients to the wet ingredients, mixing until a smooth batter forms.
- Divide the batter into small portions, depending on how many colors you'd like to use. Add a drop or two of food coloring to each portion and mix until evenly colored.
- Spoon small dollops of each colored batter onto the prepared baking sheet, ensuring they are spaced apart to avoid merging during baking.
- Bake for 8-10 minutes, or until the edges of the dot cakes are lightly golden and the centers are set.
- Allow the dot cakes to cool on the baking sheet for 5 minutes before transferring them to a wire rack to cool completely.
- If desired, dust the dot cakes lightly with powdered sugar before serving.
Notes
Loved this recipe? Save it to your favorite Pinterest board so you can easily find it later! ✨

Nutrition Expert - Specialty: Dietary Science & Chronic Disease Prevention I believe food is the most powerful medicine we have.