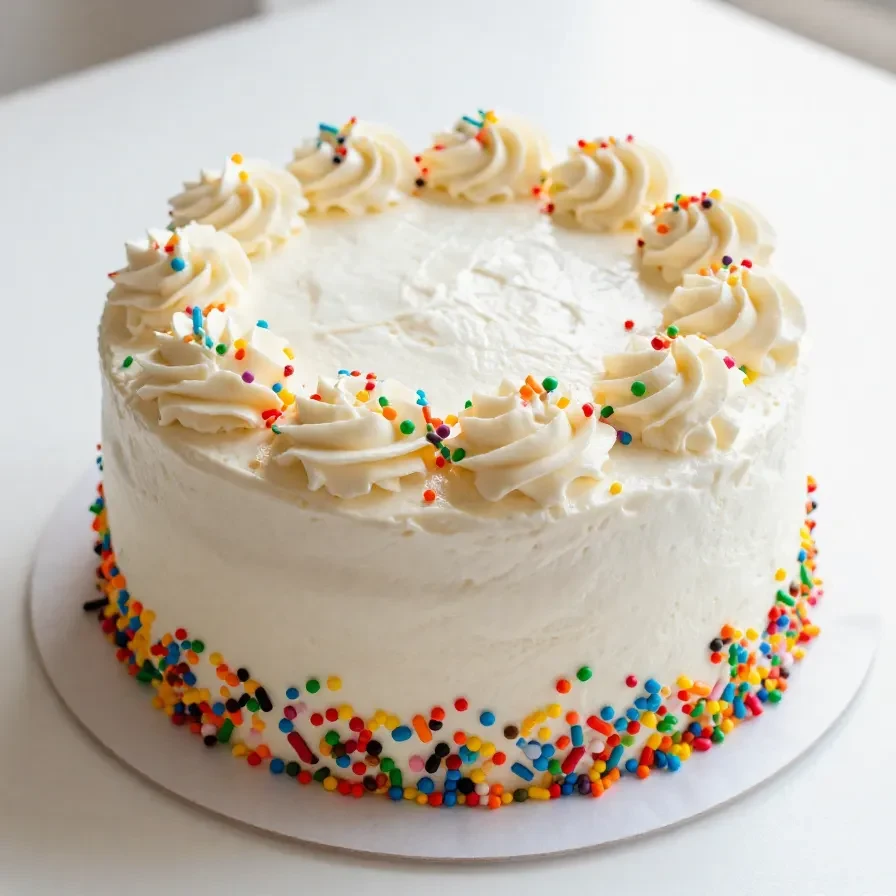
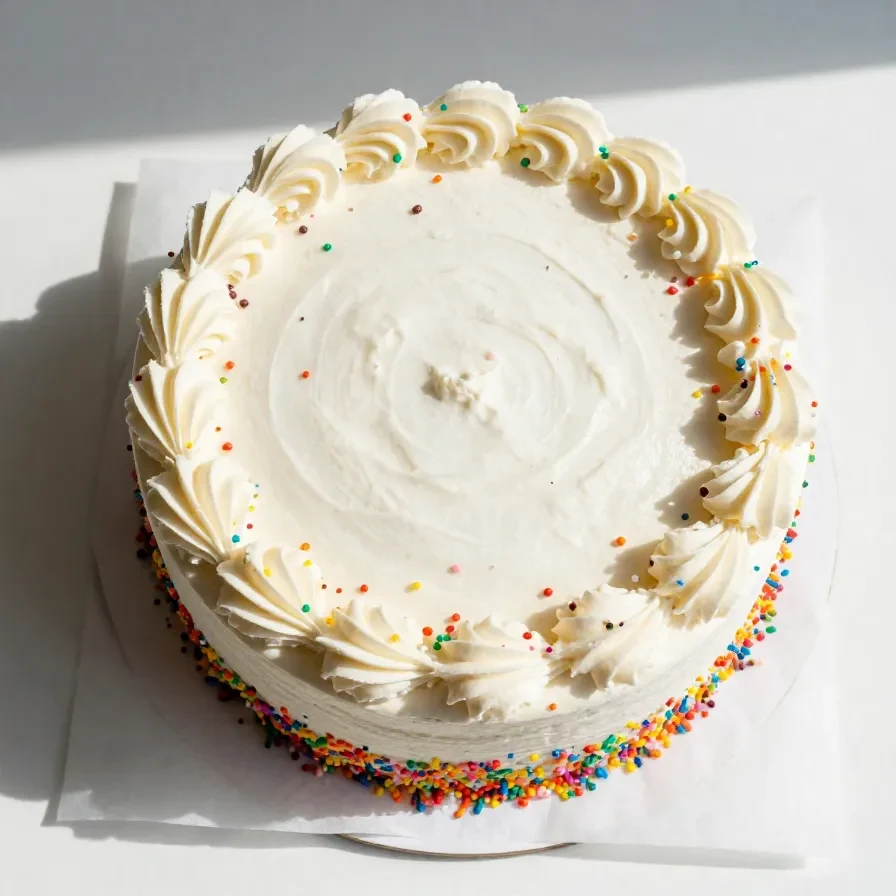
Polka Dot Inside Birthday Cake
This post contains affiliate links. As an Amazon Associate, I earn from qualifying purchases. This comes at no extra cost to you.
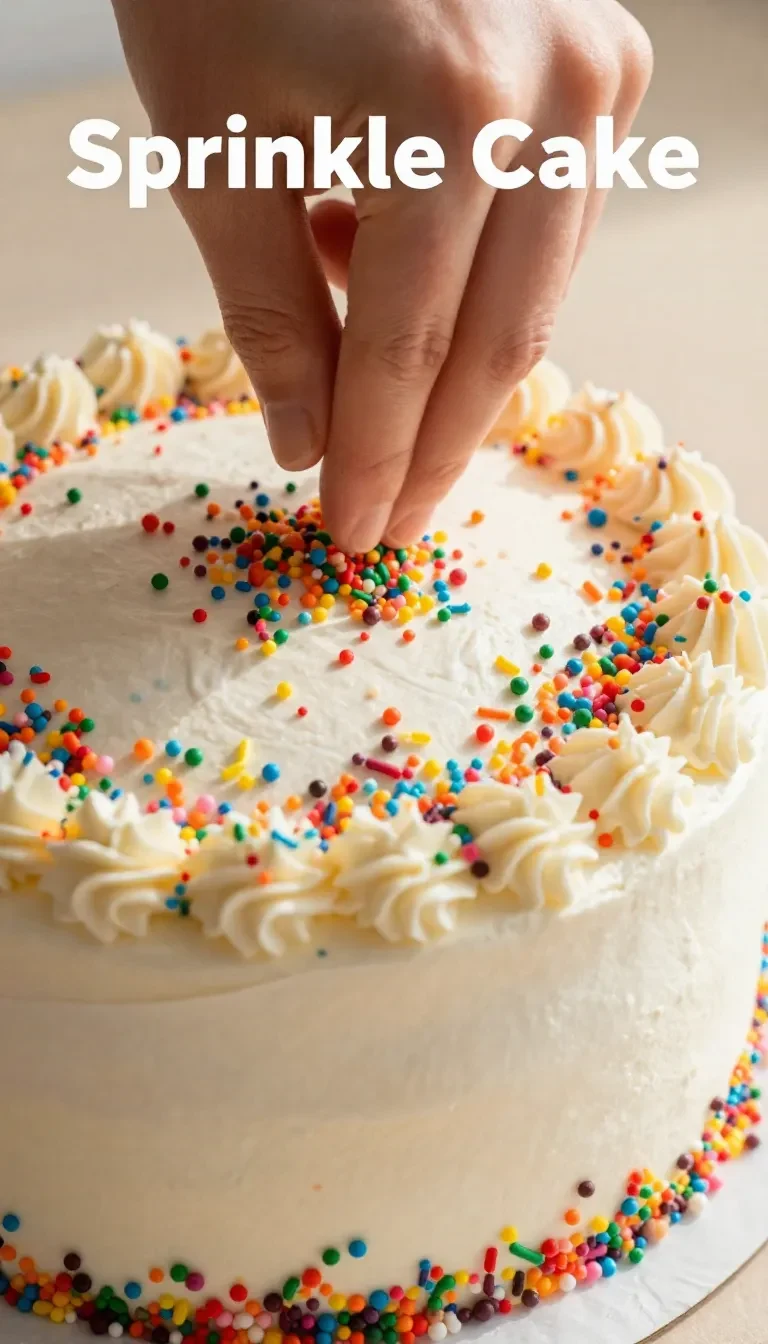
This Polka Dot Inside Birthday Cake is a whimsical dessert that surprises with vibrant polka dot cake spheres hidden within each slice. The soft, buttery texture of the cake pairs perfectly with the creamy vanilla frosting, creating a show-stopping centerpiece for any celebration. With its colorful design and delightful flavor, this cake brings playful charm to every party.
Table of Contents
- Why This Polka Dot Inside Birthday Cake Is Perfect for Celebrations
- Everything You Need for Polka Dot Inside Birthday Cake
- How To Make Polka Dot Inside Birthday Cake Step by Step
- The Story Behind Polka Dot Inside Birthday Cake
- Simple Ingredient Swaps for This Cake
- Expert Tips for Perfect Polka Dots
- Frequently Asked Questions
Why This Polka Dot Inside Birthday Cake Is Perfect for Celebrations
- The surprise polka dots hidden inside make every slice a fun and exciting reveal. This unique design adds an element of whimsy, guaranteed to wow guests at birthdays or special events.
- The cake’s buttery flavor and soft texture pair effortlessly with the creamy vanilla frosting. Together, they create a balanced dessert that’s indulgent without being overwhelming.
- The recipe encourages creativity with customizable gel food coloring options for the polka dots. You can match the colors to any party theme for a personalized touch.
- This cake is beginner-friendly, with straightforward steps to achieve professional-looking results. Whether you’re a seasoned baker or trying it for the first time, success feels within reach.
Everything You Need for Polka Dot Inside Birthday Cake
- 2 1/2 cups all-purpose flour
- 2 1/2 teaspoons baking powder
- 1/2 teaspoon salt
- 1 cup unsalted butter, softened
- 2 cups granulated sugar
- 4 large eggs
- 1 teaspoon vanilla extract
- 1 cup whole milk
- Gel food coloring (various colors for polka dots)
- Nonstick cooking spray
- 2 cups powdered sugar
- 1/4 cup unsalted butter, softened (for frosting)
- 2-3 tablespoons milk (for frosting)
- 1 teaspoon vanilla extract (for frosting)
The gel food coloring brings the polka dots to life with vibrant hues, making each slice visually appealing. Softened butter ensures a smooth texture for both the cake and frosting, enhancing the overall flavor experience.
How To Make Polka Dot Inside Birthday Cake Step by Step
- Preheat your oven to 350°F (175°C). Grease and flour two 8-inch round cake pans, and spray a cake pop pan or silicone sphere mold with nonstick cooking spray.
- In a medium bowl, whisk together the flour, baking powder, and salt. Set the dry mixture aside.
- In a large mixing bowl, beat the softened butter and sugar until light and fluffy. Add the eggs one by one, mixing well after each addition, and stir in the vanilla extract.
- Alternately add the dry ingredients and milk to the butter mixture, starting and ending with the dry ingredients. Mix until just combined to avoid overworking the batter.
- Divide a portion of the batter into separate bowls based on the number of polka dot colors. Add a few drops of gel food coloring to each bowl and mix until the colors are vibrant.
- Spoon the colored batter into the cake pop pan or silicone sphere mold, filling each cavity about 3/4 full. Bake the spheres for 12-15 minutes or until a toothpick comes out clean, then cool completely.
- Pour a thin layer of uncolored batter into one of the prepared round pans. Arrange the cooled polka dot spheres randomly over the batter and pour more batter over the spheres to completely cover them. Repeat this process for the second pan.
- Bake the round cakes for 30-35 minutes or until a toothpick inserted into the center comes out clean. Let the cakes cool in their pans for 10 minutes before transferring them to a wire rack to cool completely.
- Prepare the frosting by beating the powdered sugar and softened butter together. Gradually add milk and vanilla extract, mixing until smooth and spreadable.
- Spread a layer of frosting on top of one cake layer, stack the second layer, and frost the top and sides. Decorate as desired to complete your Polka Dot Inside Birthday Cake.

Makes mixing batter and frosting effortless — ideal for baking enthusiasts.

Durable aluminum pans for even baking — essential for layered cakes.
The Story Behind Polka Dot Inside Birthday Cake
The concept of hidden designs or surprises inside cakes originated with inventive home bakers wanting to add visual flair to their creations. Polka dots tucked into this birthday cake elevate a simple dessert into a creative centerpiece, blending fun geometry with flavorful artistry.
While the exact origins remain unclear, the polka dot trend epitomizes playful baking, allowing individuals to experiment with patterns while delivering an unexpected treat in every slice.
Simple Ingredient Swaps for This Cake
- Swap whole milk for almond or oat milk for a dairy-free option. This swap brings a slight nuttiness to the batter without compromising texture.
- Replace gel food coloring with natural color powders like beet powder or matcha. These alternatives deliver muted but earthy tones for the polka dots.
- Use gluten-free all-purpose flour instead of regular flour. Ensure the baking powder is gluten-free as well to maintain the cake’s light and fluffy structure.
Expert Tips for Perfect Polka Dots
- Ensure the cake spheres are entirely cooled before embedding them in the batter. Warm spheres may lead to uneven baking or bleeding of colors.
- Use a piping bag or small spoon to fill the cake pop pan for precise polka dots. This minimizes mess and ensures each sphere is evenly sized.
- When layering batter over the polka dots, pour slowly to avoid displacing them. Gentle layering ensures an even distribution of polka dots throughout the cake.
- Chill the frosting slightly before spreading for cleaner edges. This makes cake decorating more manageable, especially for beginners.
Frequently Asked Questions
- Can I make this cake ahead of time? Yes, you can bake the cake layers and spheres a day in advance, storing them in an airtight container until ready to frost.
- What if I don’t have a cake pop pan? Silicone sphere molds work just as well and are easy to clean. If unavailable, you can shape polka dots by hand using chilled dough.
- How should I store leftovers? Cover the cake tightly with plastic wrap or store in an airtight container in the refrigerator for up to 3-4 days.
Polka Dot Inside Birthday Cake
Ingredients
Method
- Preheat your oven to 350°F (175°C). Grease and flour two 8-inch round cake pans. Spray a cake pop pan or silicone sphere mold with nonstick cooking spray.
- In a medium bowl, whisk together the flour, baking powder, and salt. Set aside.
- In a large mixing bowl, beat the softened butter and sugar together until light and fluffy. Add eggs one at a time, mixing well after each addition. Stir in vanilla extract.
- Alternately add the dry ingredients and milk to the butter mixture, starting and ending with the dry ingredients. Mix until just combined.
- Divide a portion of the batter into separate bowls, depending on how many colors you want for the polka dots. Add a few drops of gel food coloring to each bowl and mix until the colors are vibrant.
- Spoon the colored batter into the cake pop pan or silicone sphere mold, filling each cavity about 3/4 full. Bake the spheres for 12-15 minutes or until a toothpick inserted into the center comes out clean. Let cool completely.
- Pour a thin layer of the uncolored batter into one of the prepared round cake pans. Arrange the cooled cake spheres (polka dots) randomly over the batter in a single layer. Pour more batter over the spheres, ensuring they are completely covered. Repeat this process with the second cake pan.
- Bake the round cakes for 30-35 minutes or until a toothpick inserted into the center comes out clean. Let the cakes cool in the pans for 10 minutes, then transfer to a wire rack to cool completely.
- For the frosting, beat the powdered sugar and softened butter together in a mixing bowl. Add the milk and vanilla extract gradually, beating until smooth and spreadable.
- Once the cakes are cool, spread a layer of frosting on top of one cake layer. Stack the second cake layer on top and frost the top and sides of the cake. Decorate as desired.
Notes
Loved this recipe? Save it to your favorite Pinterest board so you can easily find it later! ✨

Nutrition Expert - Specialty: Dietary Science & Chronic Disease Prevention I believe food is the most powerful medicine we have.
- Adam John

- Adam John
- Adam John
- Adam John