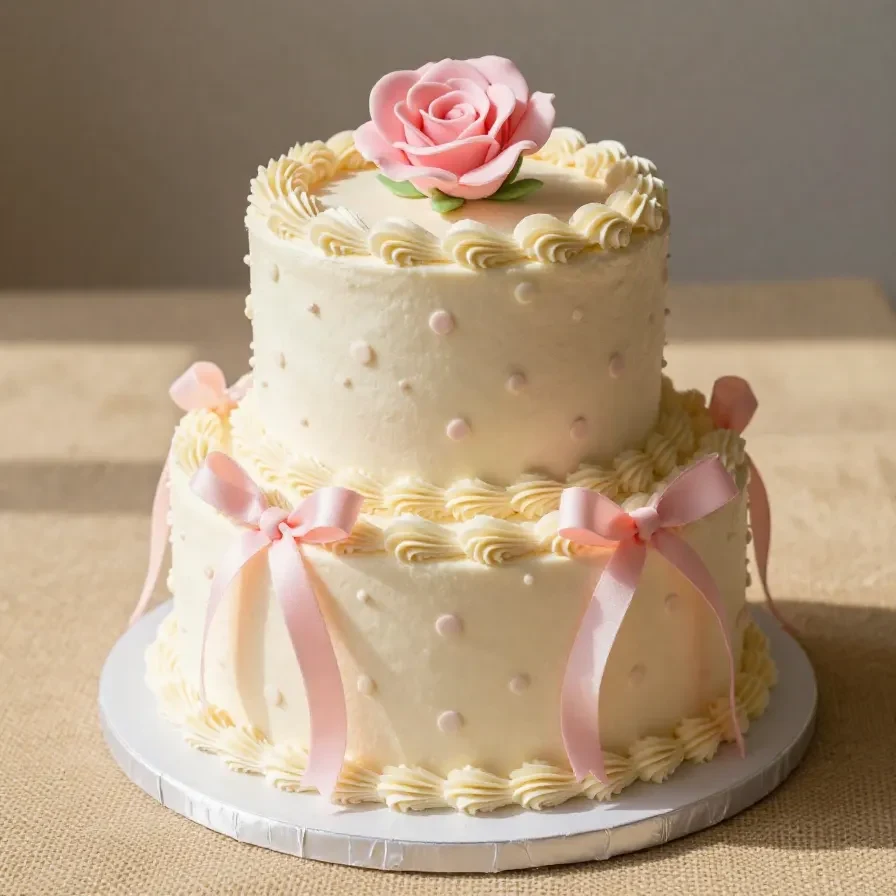
Polka Dot Cake with Fondant Ribbon and Bow
This post contains affiliate links. As an Amazon Associate, I earn from qualifying purchases. This comes at no extra cost to you.
Polka Dot Cake with Fondant Ribbon and Bow
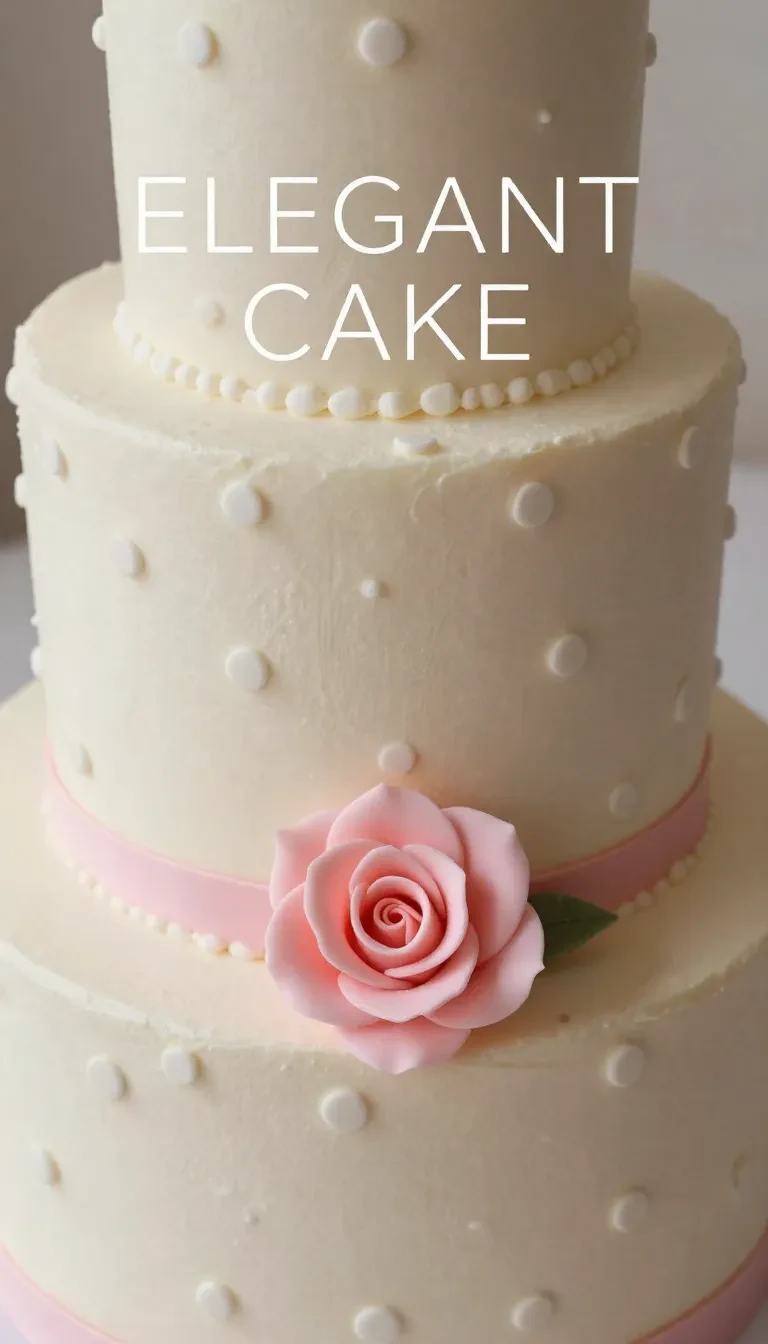
This Polka Dot Cake with Fondant Ribbon and Bow is a feast for the senses and the eyes, combining vibrant hidden polka dots with smooth fondant ribbons and bows. The delightful surprise of colorful cake dollops inside makes it a standout dessert for any festive occasion. Its soft texture, paired with meticulous fondant decorations, transforms it into both an artistic and flavorful treat.
Table of Contents
- Why This Polka Dot Cake with Fondant Ribbon and Bow Is Perfect for Any Celebration
- Everything You Need for Polka Dot Cake with Fondant Ribbon and Bow
- How To Make Polka Dot Cake with Fondant Ribbon and Bow Step by Step
- The History Behind Polka Dot Cakes
- Serving Ideas for This Stunning Polka Dot Cake
- Meal Prep, Storage, and Reheating Tips
- Easy Ingredient Swaps for Polka Dot Cake with Fondant Ribbon and Bow
Why This Polka Dot Cake with Fondant Ribbon and Bow Is Perfect for Any Celebration
- The hidden polka dot pattern adds a festive surprise for guests. This unique touch makes it an ideal centerpiece for birthdays, baby showers, or any colorful celebration.
- Its fondant ribbon and bow give it a polished appearance. The elegant design makes it well-suited for sophisticated events like weddings or anniversary parties.
- The recipe is adaptable to your style. You can customize the polka dot colors and fondant decorations to match the theme of your event.
- Its balance of moist cake and rich fondant appeals to all palates. Whether you prefer subtle vanilla flavors or vibrant visuals, this dessert delivers both.
Everything You Need for Polka Dot Cake with Fondant Ribbon and Bow
- 2 1/2 cups all-purpose flour
- 2 1/2 teaspoons baking powder
- 1/2 teaspoon salt
- 1 cup unsalted butter, softened
- 2 cups granulated sugar
- 4 large eggs
- 1 teaspoon vanilla extract
- 1 cup whole milk
- Gel food coloring (various colors)
- Fondant (white and colored)
- Powdered sugar (for rolling out fondant)
- Buttercream frosting (for crumb coat and assembly)
The gel food coloring is essential for making vibrant polka dots in this cake. Its concentrated formula ensures the colors remain bold even after baking.
How To Make Polka Dot Cake with Fondant Ribbon and Bow Step by Step
- Preheat your oven to 350°F (175°C). Grease and line two 8-inch round cake pans with parchment paper.
- In a medium bowl, whisk together the flour, baking powder, and salt. Set aside for later use.
- In a large bowl, beat the butter and sugar until light and fluffy. Add the eggs one at a time, mixing well after each addition, then stir in the vanilla extract.
- Add the dry ingredients to the wet mixture in three additions, alternating with the milk, starting and ending with the dry ingredients. Mix until just combined.
- Divide the batter into several small bowls. Add a small amount of gel food coloring to each bowl and mix until evenly colored.
- Using a cookie scoop or melon baller, drop dollops of colored batter onto a parchment-lined baking sheet. Bake these polka dots for 5-7 minutes or until set. Let them cool completely.
- Pour a thin layer of uncolored batter into the prepared pans. Evenly space the baked polka dots in the batter, then pour the remaining uncolored batter over them to cover completely.
- Bake for 30-35 minutes or until a toothpick inserted into the center comes out clean. Allow the cakes to cool completely on a wire rack.
- Level the cakes if needed, then apply a thin crumb coat of buttercream frosting to seal in crumbs. Chill the cake to set the frosting layer.
- Roll out white fondant on a powdered sugar-dusted surface, then cover the cake with it, smoothing out the edges with your hands or a fondant smoother.
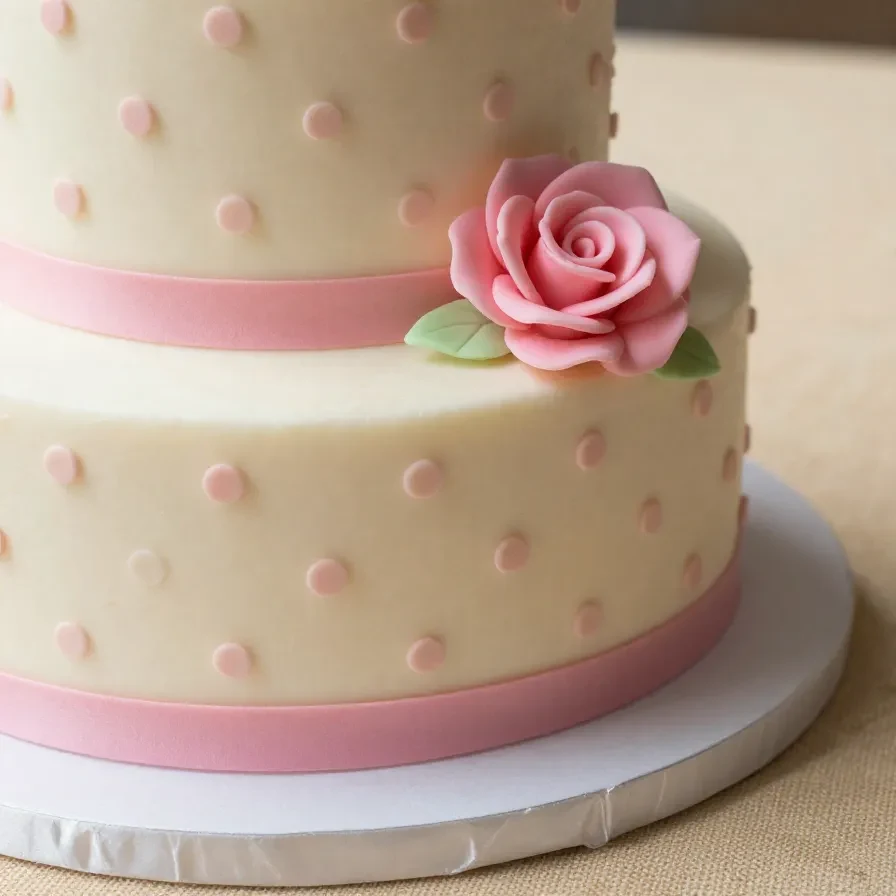
- Roll out colored fondant and cut into small circles to make polka dots. Attach these to the fondant-covered cake using a tiny amount of water or edible glue.
- Create a fondant ribbon by rolling colored fondant into a long thin strip. Wrap it around the cake base, then shape loops to form a bow, securing it with water or edible glue. Attach the bow wherever you’d like on the cake.
- Refrigerate the cake until ready to serve. Let it come to room temperature before slicing.
The History Behind Polka Dot Cakes
Polka dot cakes trace their roots to whimsical bakery designs that gained popularity in the mid-20th century. The hidden patterns reflect a playful aesthetic that combines visual surprise with traditional baking techniques.

Makes mixing dough and batters effortless — a kitchen game-changer.

Essential for achieving a polished fondant finish on cakes.
Fondant decorations, such as ribbons and bows, further enhanced the artistry of these cakes. They evolved as a centerpiece for celebrations, merging design and flavor into cohesive dessert concepts.
Serving Ideas for This Stunning Polka Dot Cake
- Pair with fresh berries like raspberries or strawberries for a tangy contrast.
- Serve alongside vanilla ice cream to enhance the cake’s sweetness.
- Decorate the serving plate with additional fondant shapes to complement the theme.
- Offer coffee or tea on the side as the cake’s richness pairs well with warm beverages.
Meal Prep, Storage, and Reheating Tips
Store the cake in an airtight container in the refrigerator for up to four days. For longer storage, wrap slices individually in plastic wrap and freeze for up to two months.
Allow frozen slices to thaw in the refrigerator overnight before serving. To reheat, simply bring the cake to room temperature; avoid microwaving as it may affect the fondant texture.
Easy Ingredient Swaps for Polka Dot Cake with Fondant Ribbon and Bow
- Swap whole milk for almond or oat milk for a dairy-free version. This change subtly alters the flavor but keeps the cake moist.
- Use dairy-free butter or margarine in place of unsalted butter. This works well for guests with lactose intolerance.
- Replace granulated sugar with coconut sugar for a deeper caramel-like sweetness. Note that the cake’s color may turn slightly darker.
Polka Dot Cake with Fondant Ribbon and Bow
Ingredients
Method
- Preheat your oven to 350°F (175°C). Grease and line two 8-inch round cake pans with parchment paper.
- In a medium bowl, whisk together the flour, baking powder, and salt. Set aside.
- In a large bowl, beat the butter and sugar together until light and fluffy. Add the eggs one at a time, mixing well after each addition. Stir in the vanilla extract.
- Add the dry ingredients to the wet ingredients in three additions, alternating with the milk, starting and ending with the dry ingredients. Mix until just combined.
- Divide the batter into several bowls, based on how many colors you want for the polka dots. Add a small amount of gel food coloring to each bowl and mix until evenly colored.
- Using a small cookie scoop or a melon baller, drop small dollops of the colored batter onto a parchment-lined baking sheet. Bake the dollops for 5-7 minutes or until set. Let cool completely.
- Pour a thin layer of uncolored batter into the prepared cake pans. Arrange the baked polka dot dollops in the batter, ensuring even spacing. Pour the remaining batter over the dollops to cover them completely.
- Bake the cakes for 30-35 minutes, or until a toothpick inserted into the center comes out clean. Allow the cakes to cool completely on a wire rack.
- Level the cooled cakes if necessary for even stacking. Apply a thin crumb coat of buttercream frosting to seal in any crumbs.
- Roll out white fondant on a clean surface dusted with powdered sugar. Cover the cake with the fondant, smoothing it out with your hands or a fondant smoother.
- Roll out colored fondant and cut small circles to create polka dots. Attach the polka dots to the fondant-covered cake using a small amount of water or edible glue.
- Create a fondant ribbon by rolling out colored fondant into a long, thin strip. Wrap it around the base of the cake. Form a bow by shaping fondant into loops and securing them together with edible glue or water. Attach the bow to the cake.
- Refrigerate the finished cake until ready to serve. Allow it to come to room temperature before slicing.
Notes
Loved this recipe? Save it to your favorite Pinterest board so you can easily find it later! ✨

Nutrition Expert - Specialty: Dietary Science & Chronic Disease Prevention I believe food is the most powerful medicine we have.
- Adam John

- Adam John
- Adam John
- Adam John